The admin panel is where a partner runs everything they have with World of Regions: the hotels, regions and attractions they publish, the advertising they buy, the invoices they pay, and the colleagues they give access to.
These pages describe what each part of the panel does and how to complete the jobs people actually come to it for. No technical knowledge is assumed, and nothing here needs a developer.
Getting started
Signing in
Your account is set up by us, or by a colleague who already has one.
- Go to the sign-in page at world-of-regions.com/Business/UnAuthorized/Login. You will know it by the heading, Welcome back.
- Fill in Email and Password.
- Press Login.
If a colleague invited you, follow the link in their message first — or press Create Account and enter the invitation code they passed you — and set a password. Forgot Password sends a link to set a new one at any time. Sessions expire, and using the account on another device can end the one you are in, so being asked to sign in again is normal.
The Main Panel
Signing in lands you on the Main Panel, and everything else is reached from here.
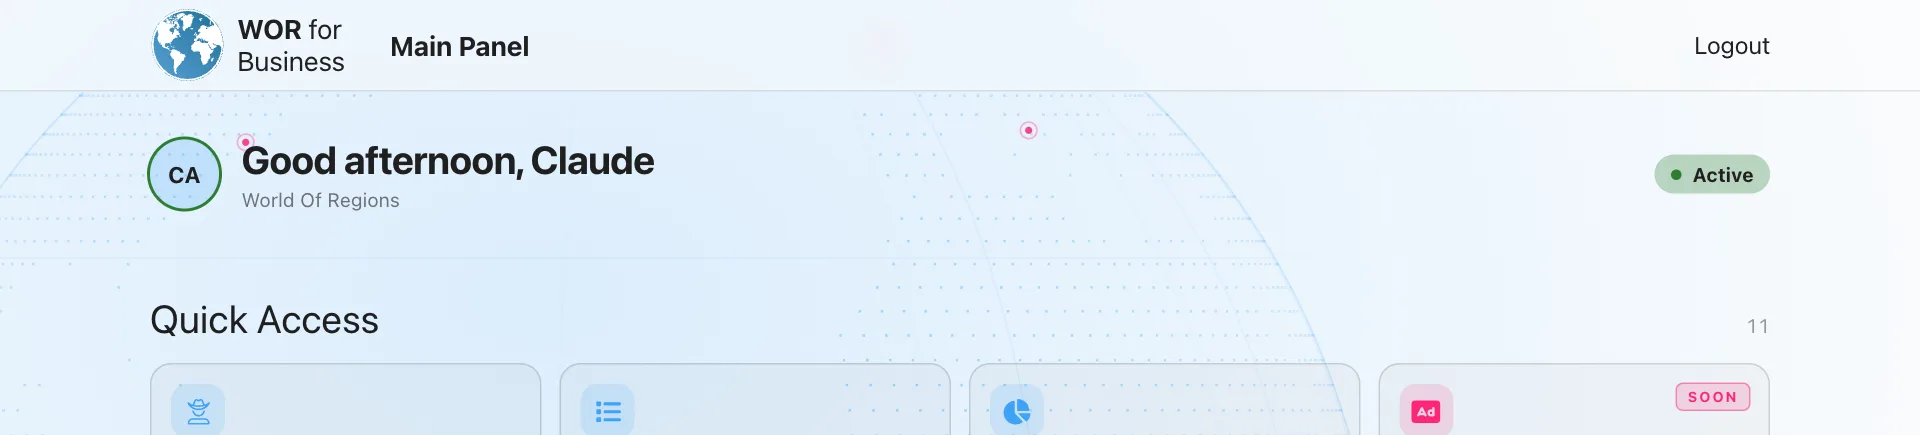
At the top is a greeting with your first name and a round badge with your initials. The ring round that badge is the state of your account, repeated in words beside it: Active, Pending, Inactive, Suspended or Invited. Only an active account can change anything. Tap the badge for your Unique Expedient Id, and your organisation's name for your Unique Organisation Id — quote both whenever you write to us.
Below that is a grid headed Quick Access, holding one tile for every part of the panel your account may open — so no two colleagues necessarily see the same set. A tile with a small Soon tag is not finished yet: it opens, but there is nothing to do in it.
The bar across the top of every page holds a Main Panel link, up to three links of your own choosing, and Logout; on a phone these fold into a menu button. In Settings, Navigation preferences reorders the Quick Access tiles and Top navigation picks the three links.
What each section is for
| Section | What you use it for |
|---|---|
| My Products | Every hotel, country or region you look after, and where you open one to edit it. |
| Analytics | How many people reached your pages and which of your products they visited. |
| Billing | Your balance, adding funds, transactions, and invoices to preview or download. |
| My Organisation | Your colleagues: their accounts, their invitations, their working hours. |
| Work Register | A clock for your own working time, and requests to review hours. |
| API Configurator | API keys and the addresses allowed to use them, for partners showing our content themselves. |
| Help Center | Writing to our support team. |
| Settings | How the panel is arranged for you. |
Open something your account is not entitled to and you get a restricted access notice rather than an error: that comes down to the positions you hold, below.
Filling in your listing
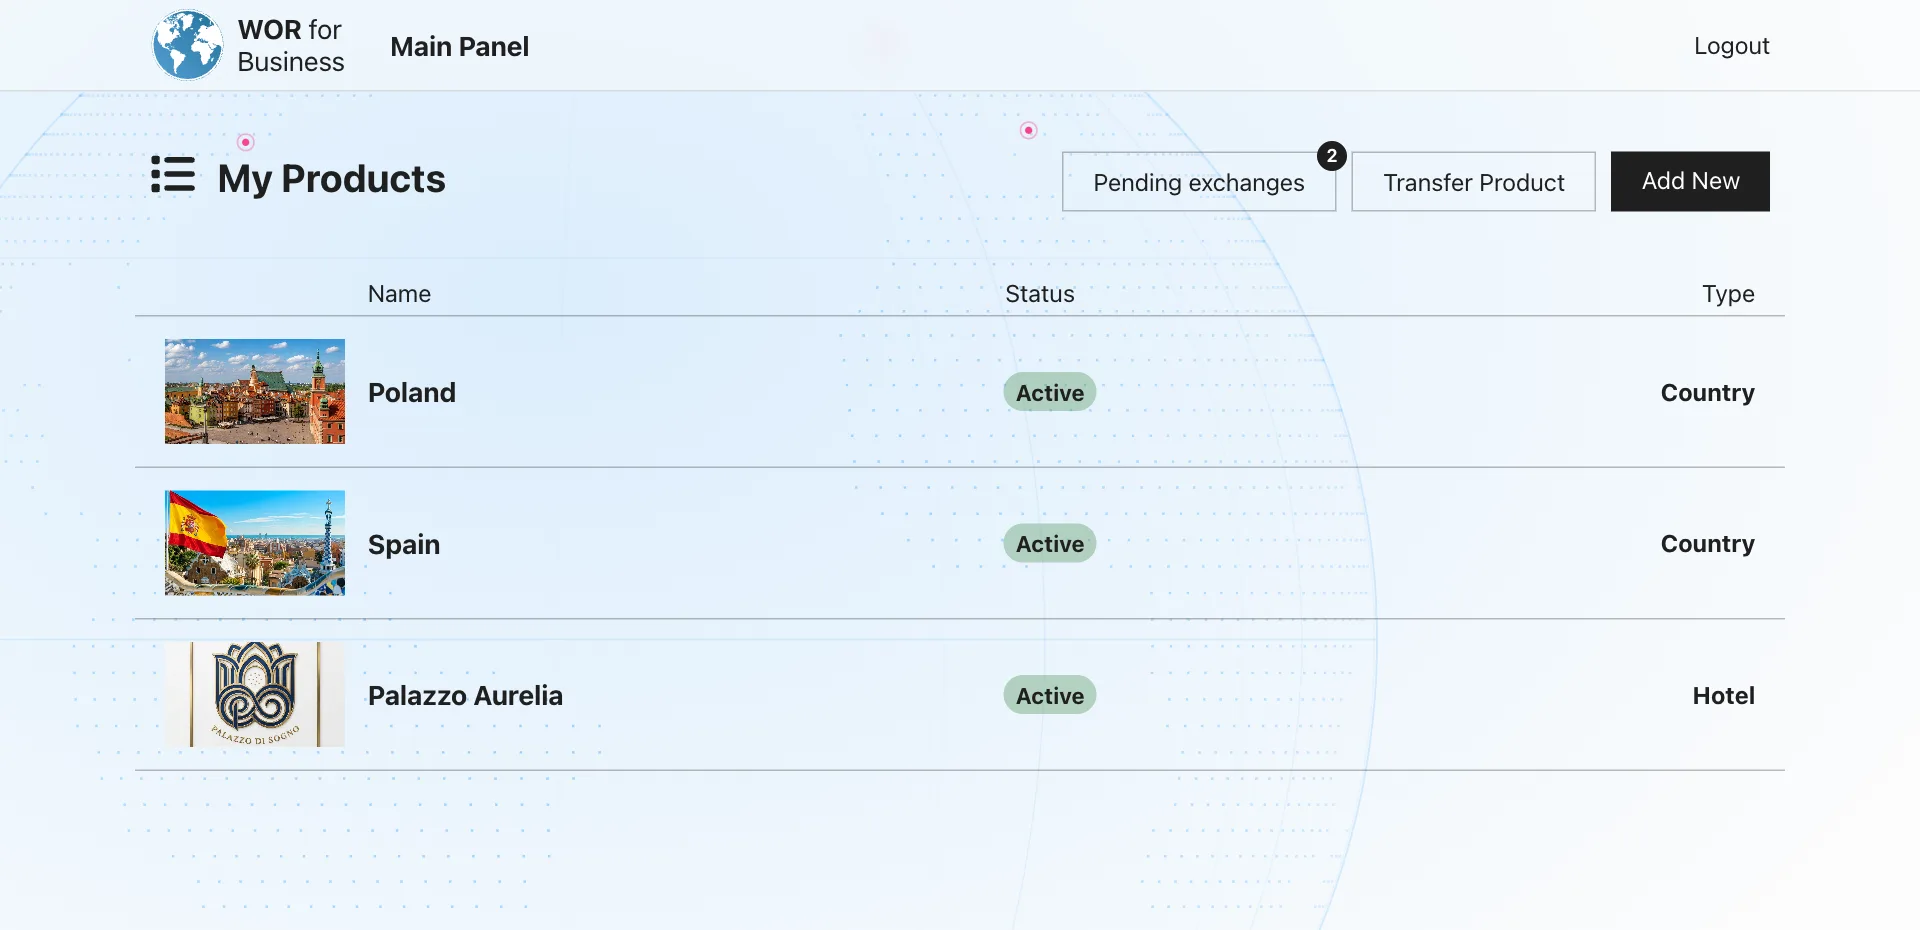
My Products lists everything your organisation holds, with a Name, a Status and a Type. Click a row to open it. An empty list means nothing has been assigned to you yet — the Support Center is the place to say so.
Add New walks through creating a hotel: where it is, its name and star class, description, photographs, facilities, amenities, rooms, board and "good to know", ending in a summary that counts how many sections of the finished page a visitor would see. Know this before you start — the final Create hotel button is not switched on yet, and the wizard says so on every step. Until it is, ask us to set a property up and it will appear in My Products, ready to fill in.
A hotel's own panel
Opening a hotel gives you a list of sections down one side, one open at a time: Photos, Description, Rooms, Facilities, Amenities, Board, Good to know, General information and Location.
Each section saves on its own, and a Save appears under one only when there is something left to write. Some things need no button: a photograph or logo is stored the moment you choose it, and a room or facility when you save its own panel — so the Save under those two lists only confirms removals, and says so.
Two of those words are easy to swap round:
- Amenities are ticks from a fixed list — a safe, a lift, a kettle — shown as small labelled icons. Rooms carry their own separate set, so something like air conditioning is claimed room by room rather than for the whole building.
- Facilities are places people spend time in: a pool, a spa, a restaurant. Each has a type from a list, a name of its own if it has one, photographs and opening hours.
Good to know — check-in and check-out, payment methods, city tax, deposit, cancellation, children, pets, quiet hours — is entered as times, amounts and choices rather than sentences, so prices show in the reader's own format and the section is translated for you. Your currency is named once, at the head of the money group. Board sits just before it: what you serve decides which meal times you are then asked for.
Top right there is a Language menu. It sets the language your words are published in, not the language of the panel, and marks the ones you have not written yet; switching it with unsaved text warns you first.
A country or region opens the same way, with its own sections: General information, Multimedia, Visa info, Descriptions, 5 destinations, Landscapes and Travel guides. Some carry a Season control, so a place can read differently in summer and in winter.
Inviting your colleagues
My Organisation holds Manage Members, Manage Invitations and Team work hours.
- 1Open Manage InvitationsIt sits in My Organisation, alongside Manage Members and Team work hours.
- 2Type their email addressOptional. Leave it empty and you get a link to pass on yourself instead.
- 3Choose their positionsIn the field labelled Expedient functions. Also optional — you can set positions later on their record.
- 4Press Send InviteYou are shown an Invitation code and an Invitation link. If you gave an address, the invitation is emailed there as well.
- 5Track it under Pending InvitationsEverything outstanding, with the date it stays valid until, a button to copy the code, and Revoke to cancel it.
Positions decide which tiles a colleague sees on their own Main Panel:
- Organisation Administrator — the full run of the panel, people included. It cannot be given out in an invitation: invite the person first, then set it on their record.
- Product Management Specialist — your listings and their content.
- Strategy & analytics specialist — the visitor figures.
- Promotional campaigns — paid placements.
- Finance Specialist — the balance and the invoices.
- User Account Manager — the organisation's own members.
- API Access Administrator — API keys.
In Manage Members, expanding a person shows their details and when they last signed in. Edit changes their name, sign-in address, positions, and whether they are Active or Suspended. Reset password emails them a link. Deleting somebody is limited to organisation administrators, and never yourself.
Where to get help
The Help Center tile leads to the Support Center. A short form: your name and email come from your account unless you untick same as me, then a title, the kind of report (Technical issue, Billing & payments, Account & access or Other), how urgent it is, and your message. Tick the consent box and send.
Say what you were trying to do, name the product, and quote the two id numbers from your Main Panel greeting. It will save you a round of questions.